I find Photoshop very intriguing and interesting. It has so many features and really a great help for photographers, designers, developers and newbie like me.
It maybe easy for some who had mastered “Photoshop” but for me it’s definitely an accomplishment and I thank “Youtube” for this. For all those who are continually doing tutorials, keep up the good work.
Anyway I am very exited to share what I’ve learned here. The step by step process I went through to accomplish a simple project and I’ll call it “Cube Photo Album”.
I have chosen my favorite personality “Pope John Paul II” as the subject because of the unlimited free photos of him on the web.
What do I need to make a “Cube Photo Album”
- Cube as guide (chose a cube where you can at least have a clear view of the 3 sides)
- 36 photos (9 for each side)
- Arrange the photos on a square sheet ( 3 columns x 3 rows)
Step 1: Open the “cube” in Photoshop.
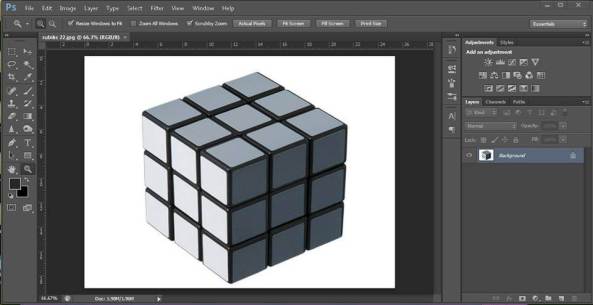
Cube Layer
Step 2: Open 3 photo files ( 3 columns x 3 rows) at the same time
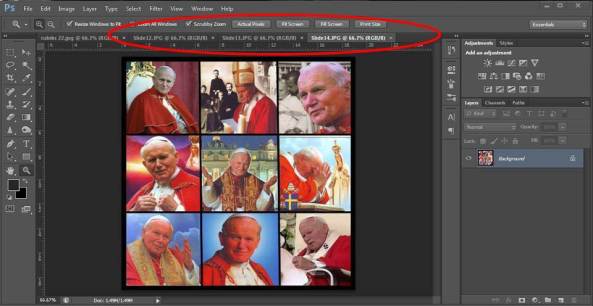
3 PhotoFiles
Step 3: Starting on the first file
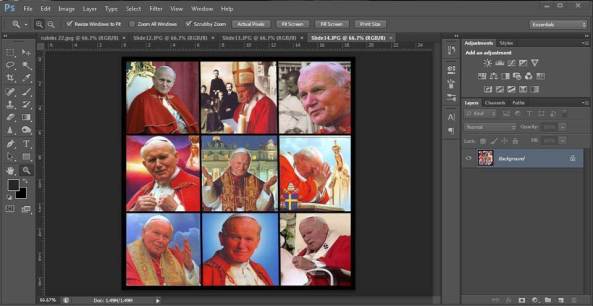
First Photo File
- Select/All (to make a selection of the whole photo)
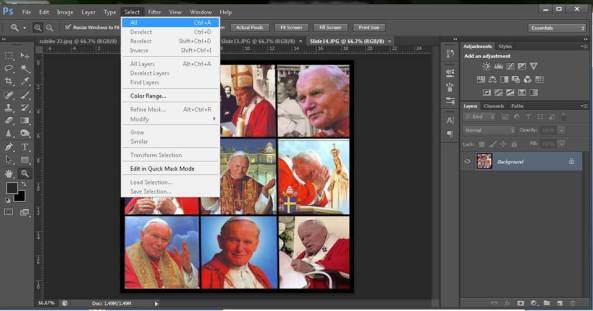
Select/All
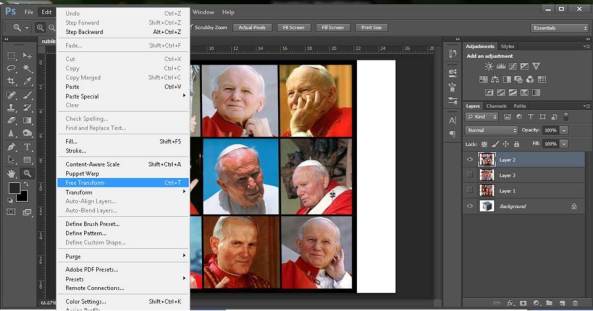
- Edit/Copy (to copy the selected area)
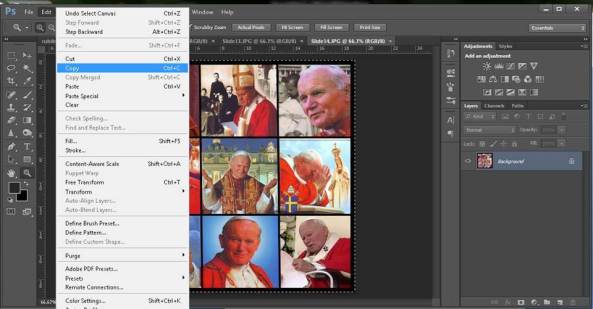
Edit/Copy
- Go to the “cube document” (The guide document you have loaded first)
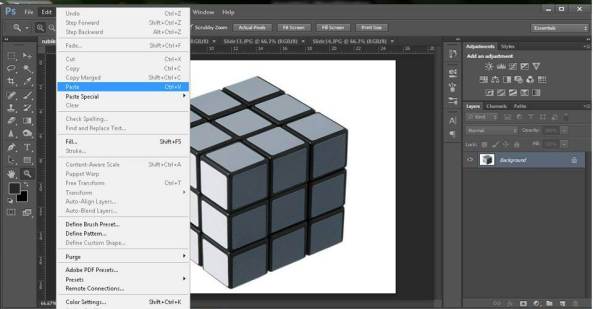
Go to cube layer & Edit/Paste
- Edit/Paste (you now have to layers on this document)
Two layers in the Docs
- Delete the file you have copied since you will not be needing this and to avoid confusion
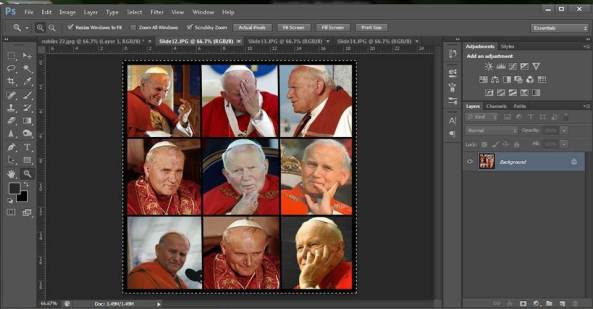
Delete this first photo file
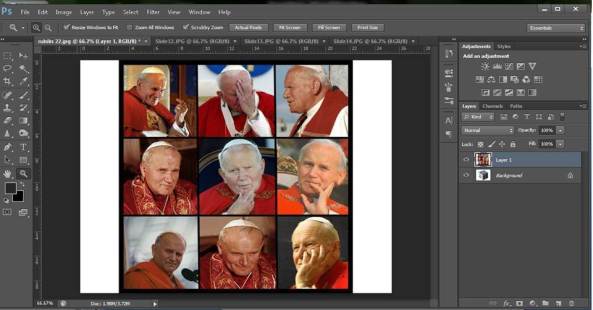
Step 4: Repeat “Step 3” for the other 2 remaining files .

3 photo files now copied in the document
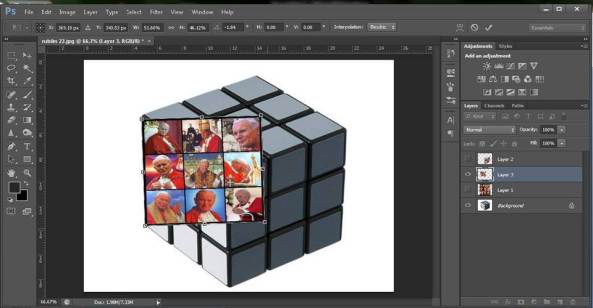
Step 5: Make the “cube layer” and photo file layer you will work with first.
- Activate the photo layer 1
Free transform to adjust the size
- Edit/Free Transform (Adjust the size of the layer and align to the side of the cube)
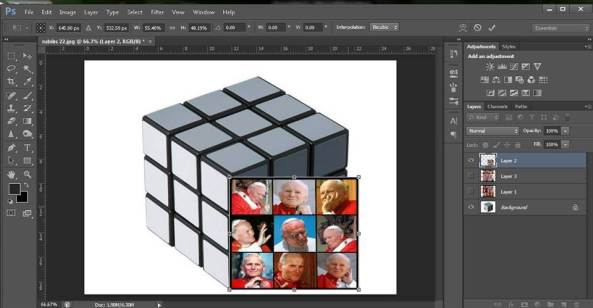
Align to side of the cube
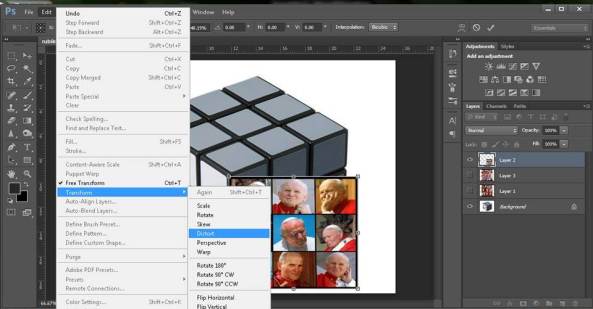
Edit/Transform
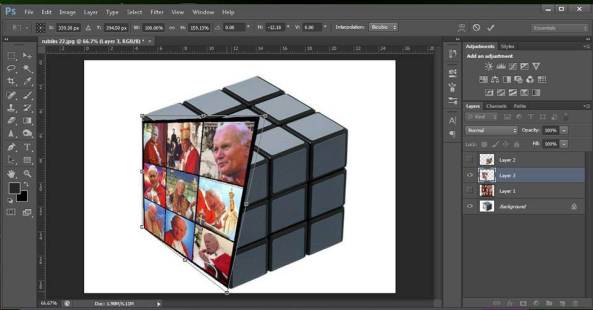
- Grab the corners of the photo and attach/align it to the corners/sides of the cube
Grab the corner & Align to the cube
- Hit the (√) check box on the upper portion to accept the transformation.
Step 6: Repeat “Step 5” for photo layer 2.
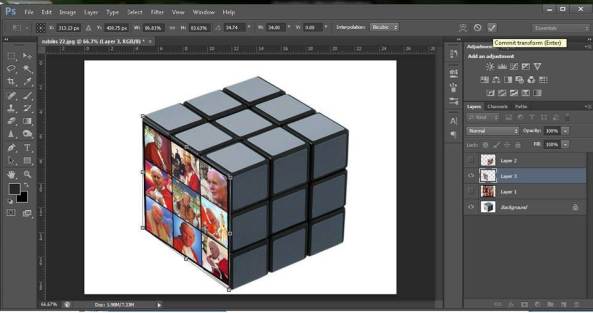
Step 7: Repeat “Step 5” for photo layer 3
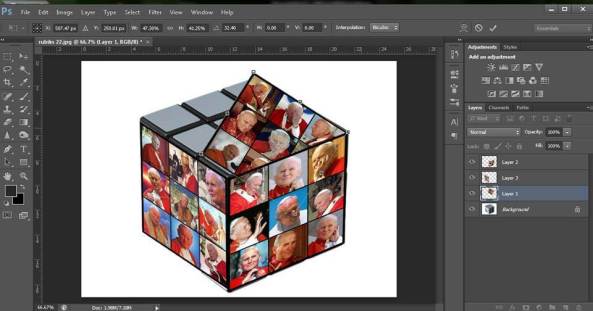

Step 8: Make the “cube layer” invisible to check on the alignments of the photo layers.

Step 9: Activate the “photo layer” that needs adjustment
Step 10: Edit/transform/distort or wrap to make adjustments on the alignment.

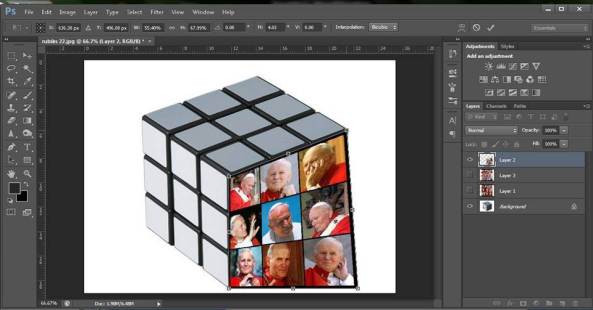
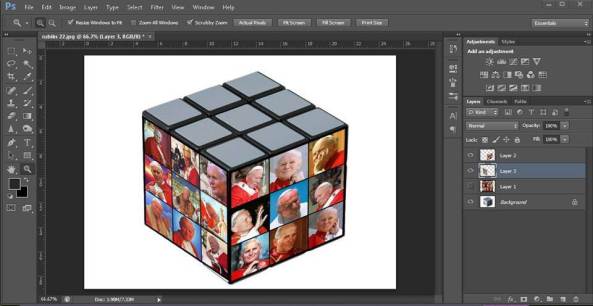
Step 11: With all the layers visible, see if you are please with the result.

Step 12: Success? hit save. View & share your “Cube Photo Album”
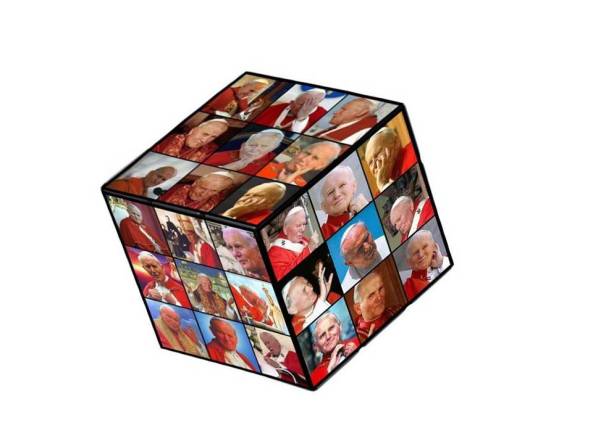
Have a nice day And God Bless!